My ‘How-To’ Guide to Shoot Film at a Concert
A simple guide on how I go about slipping a camera into concerts.
Over the past nine years I have seen over 30 Phish concerts in many cities from coast to coast. And for the last two years I have slipped a 35mm film camera into 17 show to shoots some frames of the band.
As someone who takes a camera along with me nearly everywhere I go, bringing a camera into a concert venue seemed like nothing new. However, some venues do make it a bit challenging.
The following is a little guide on how I have had luck shooting photos at these shows. This is by no means the only way to do it, nor can I say that it will be the best way to do it for everyone.
All I can say is that I recommend bringing a 35mm camera into some concerts. It really is a fun way to document your night!

Why film?
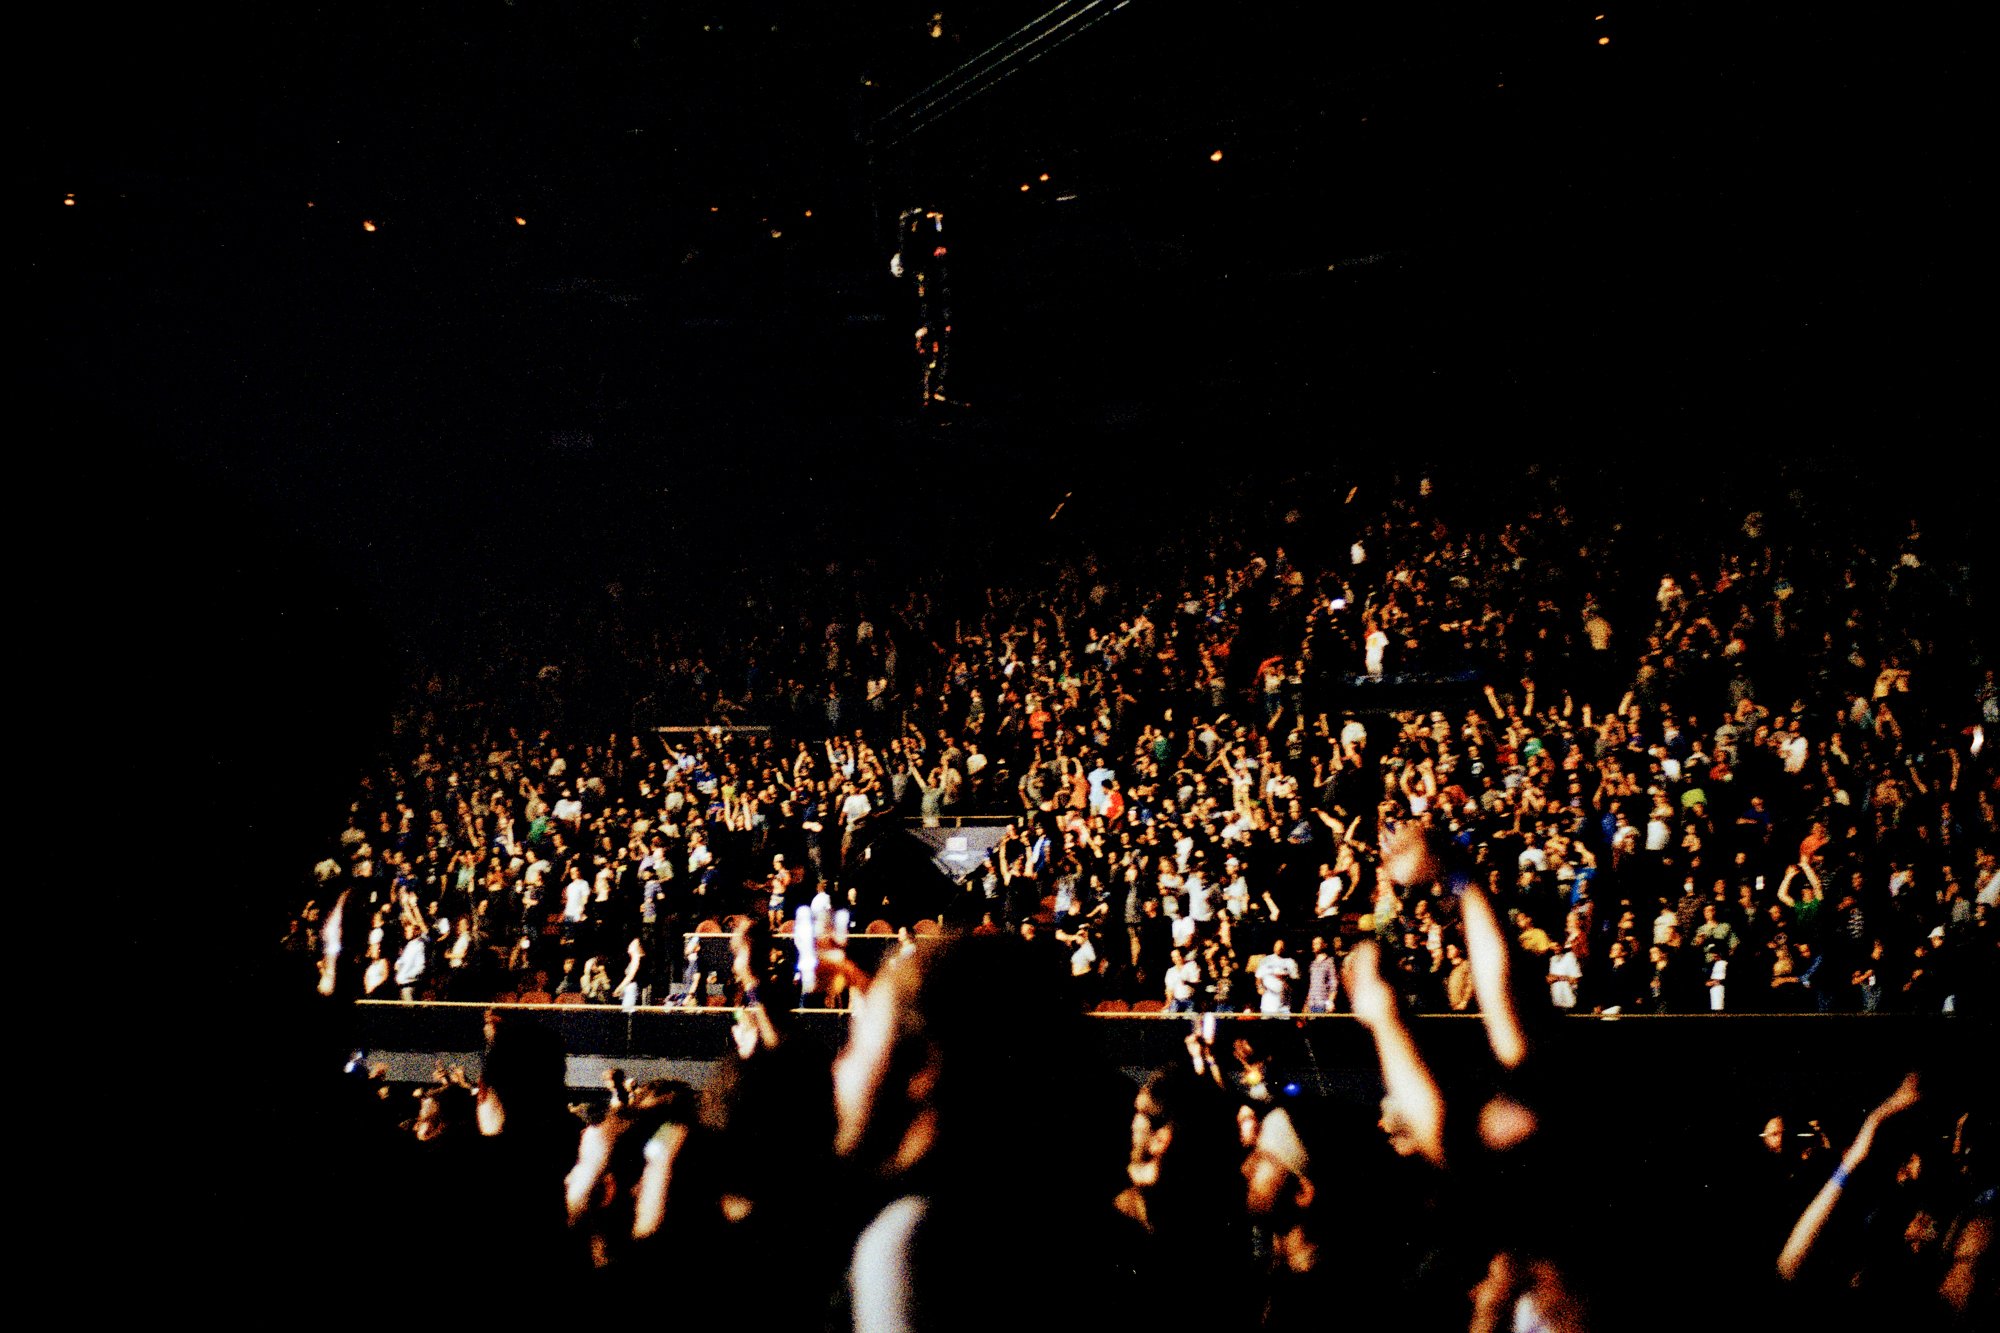
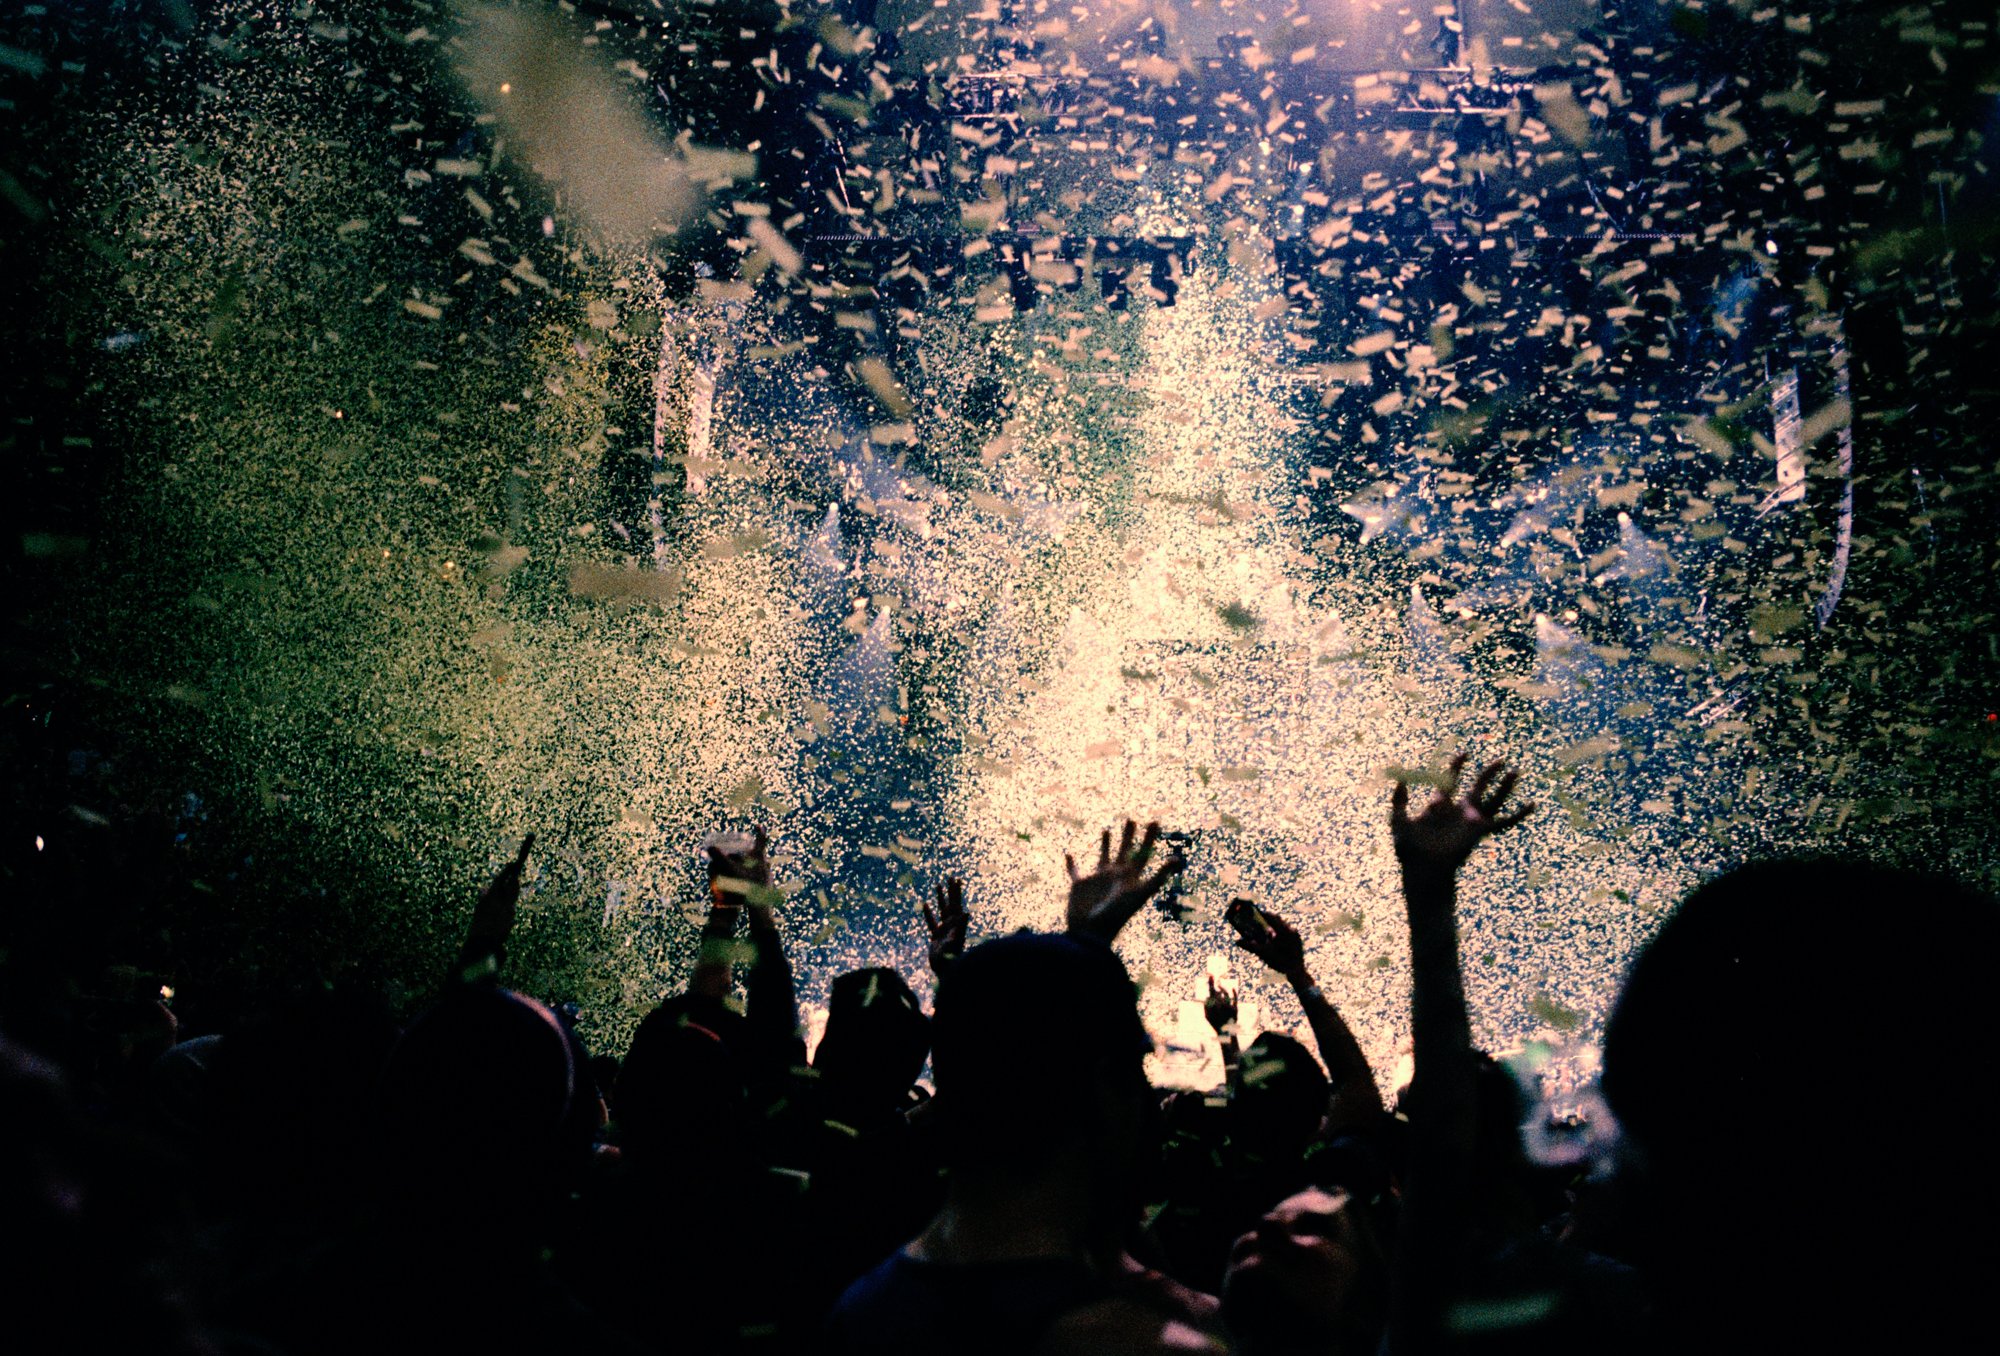
We’ve all seen the hideous glow of people’s phone screens filming video of concerts. To me, that kind of experience can be pretty off putting. Film cameras on the other hand do not have any screen or light that is illumined out of them, so it is far more courteous to your neighbors around you at the show.
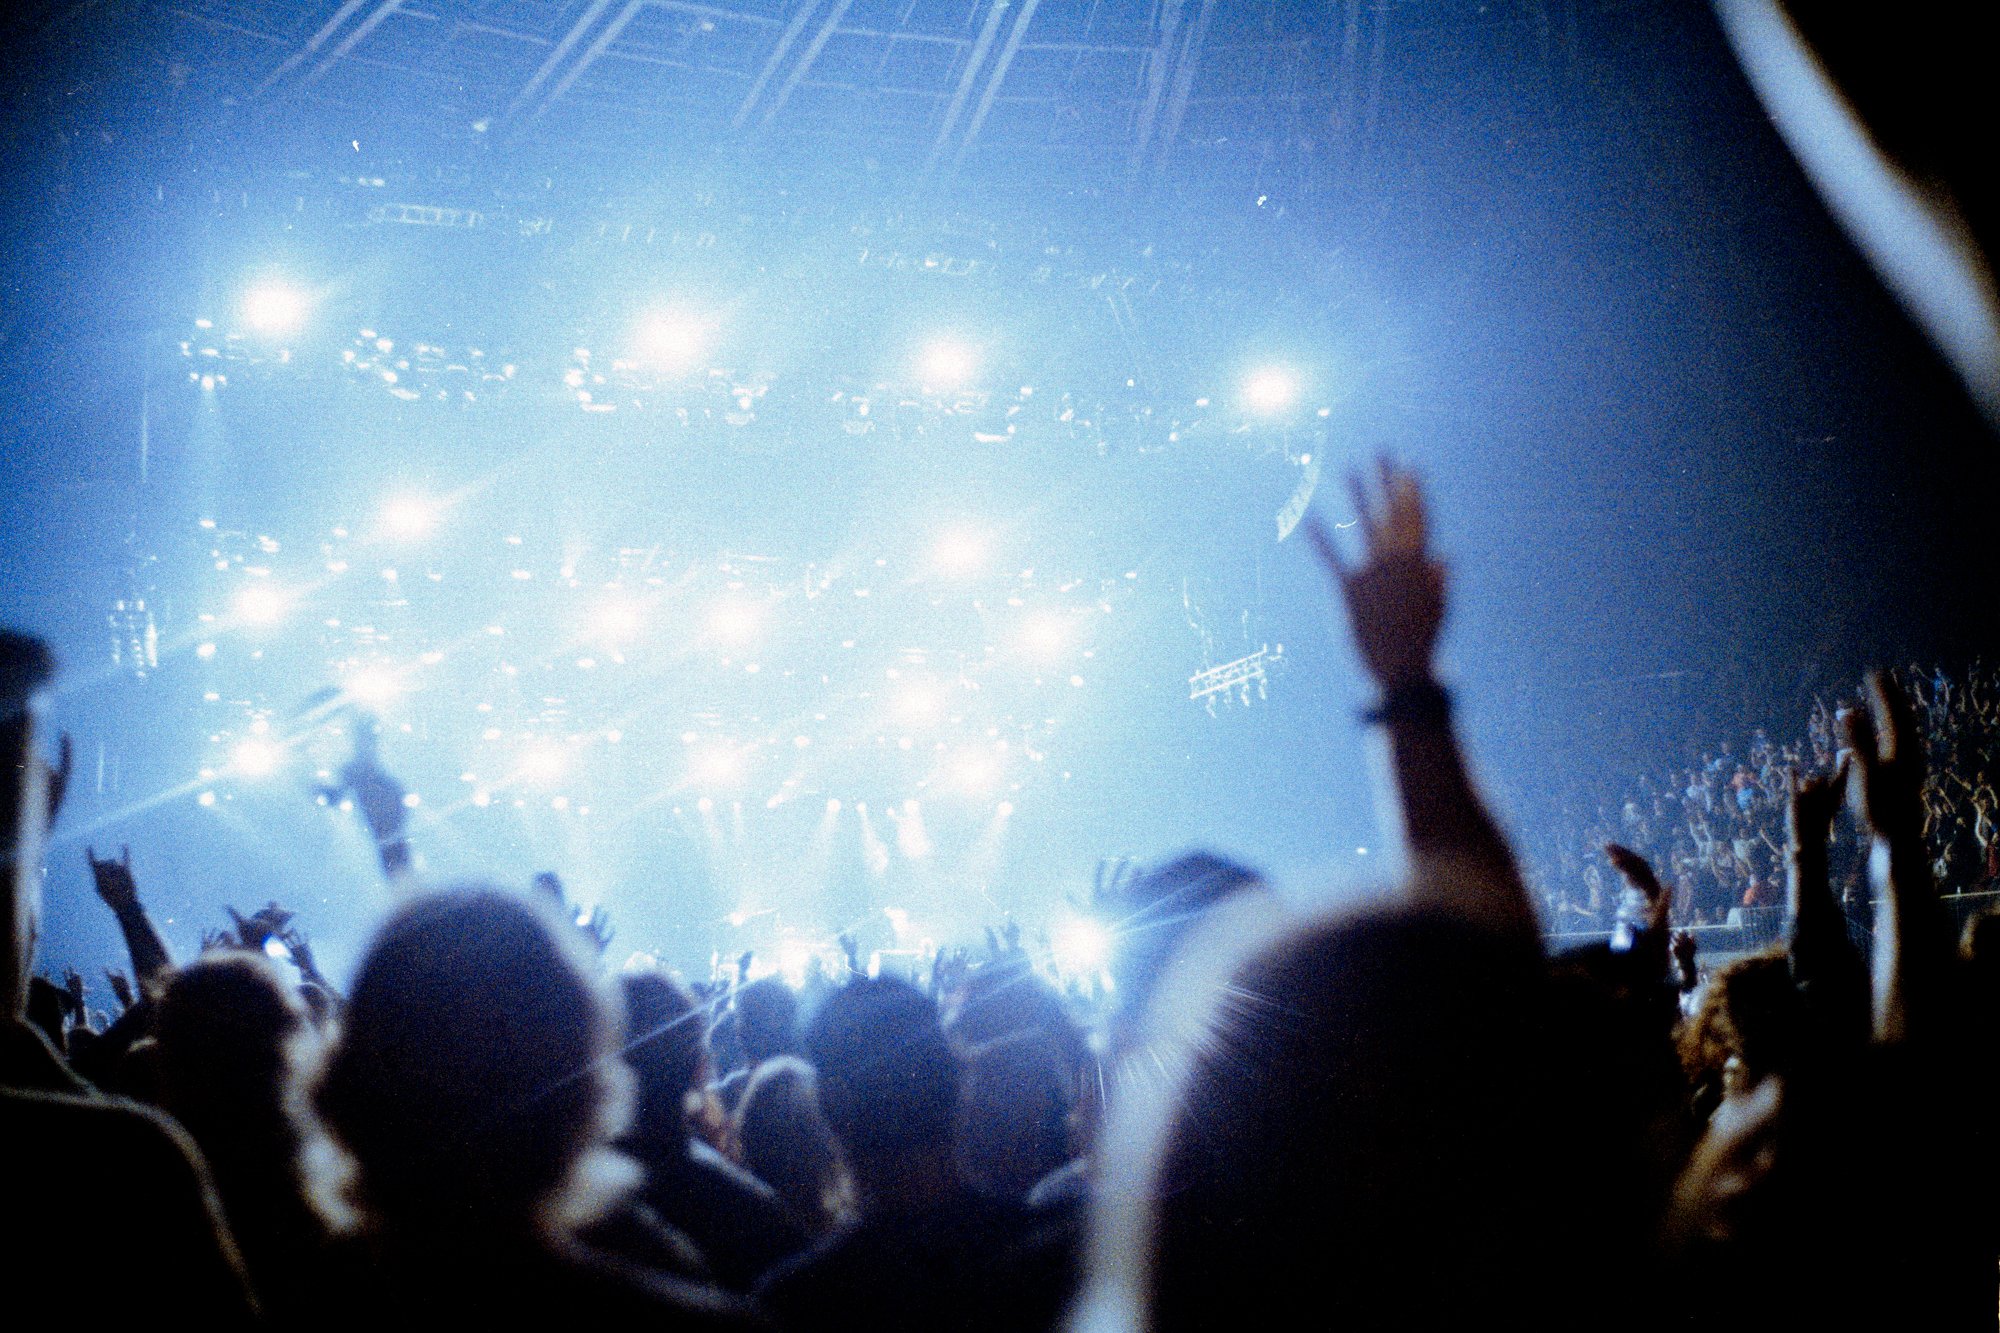
Also, because of the delayed nature of film, it makes for a great way to re-live that fun concert when you need to wait for the film to be processed and scanned.
Which camera?
In my experience, most venues have a section on their website that limits what sort of cameras you can bring into their shows. For many, this means a small camera that does not have a removable lens.
Because of this, something like a cheap 35mm point-and-shoot will get through the doors no problem. However, if you are someone like me who might want a bit more control of exposure and film ISO rating, you might want to see what other sort of cameras you can get in.
If a point and shoot is all you’ve got, follow along to the end for a great way to make it work.
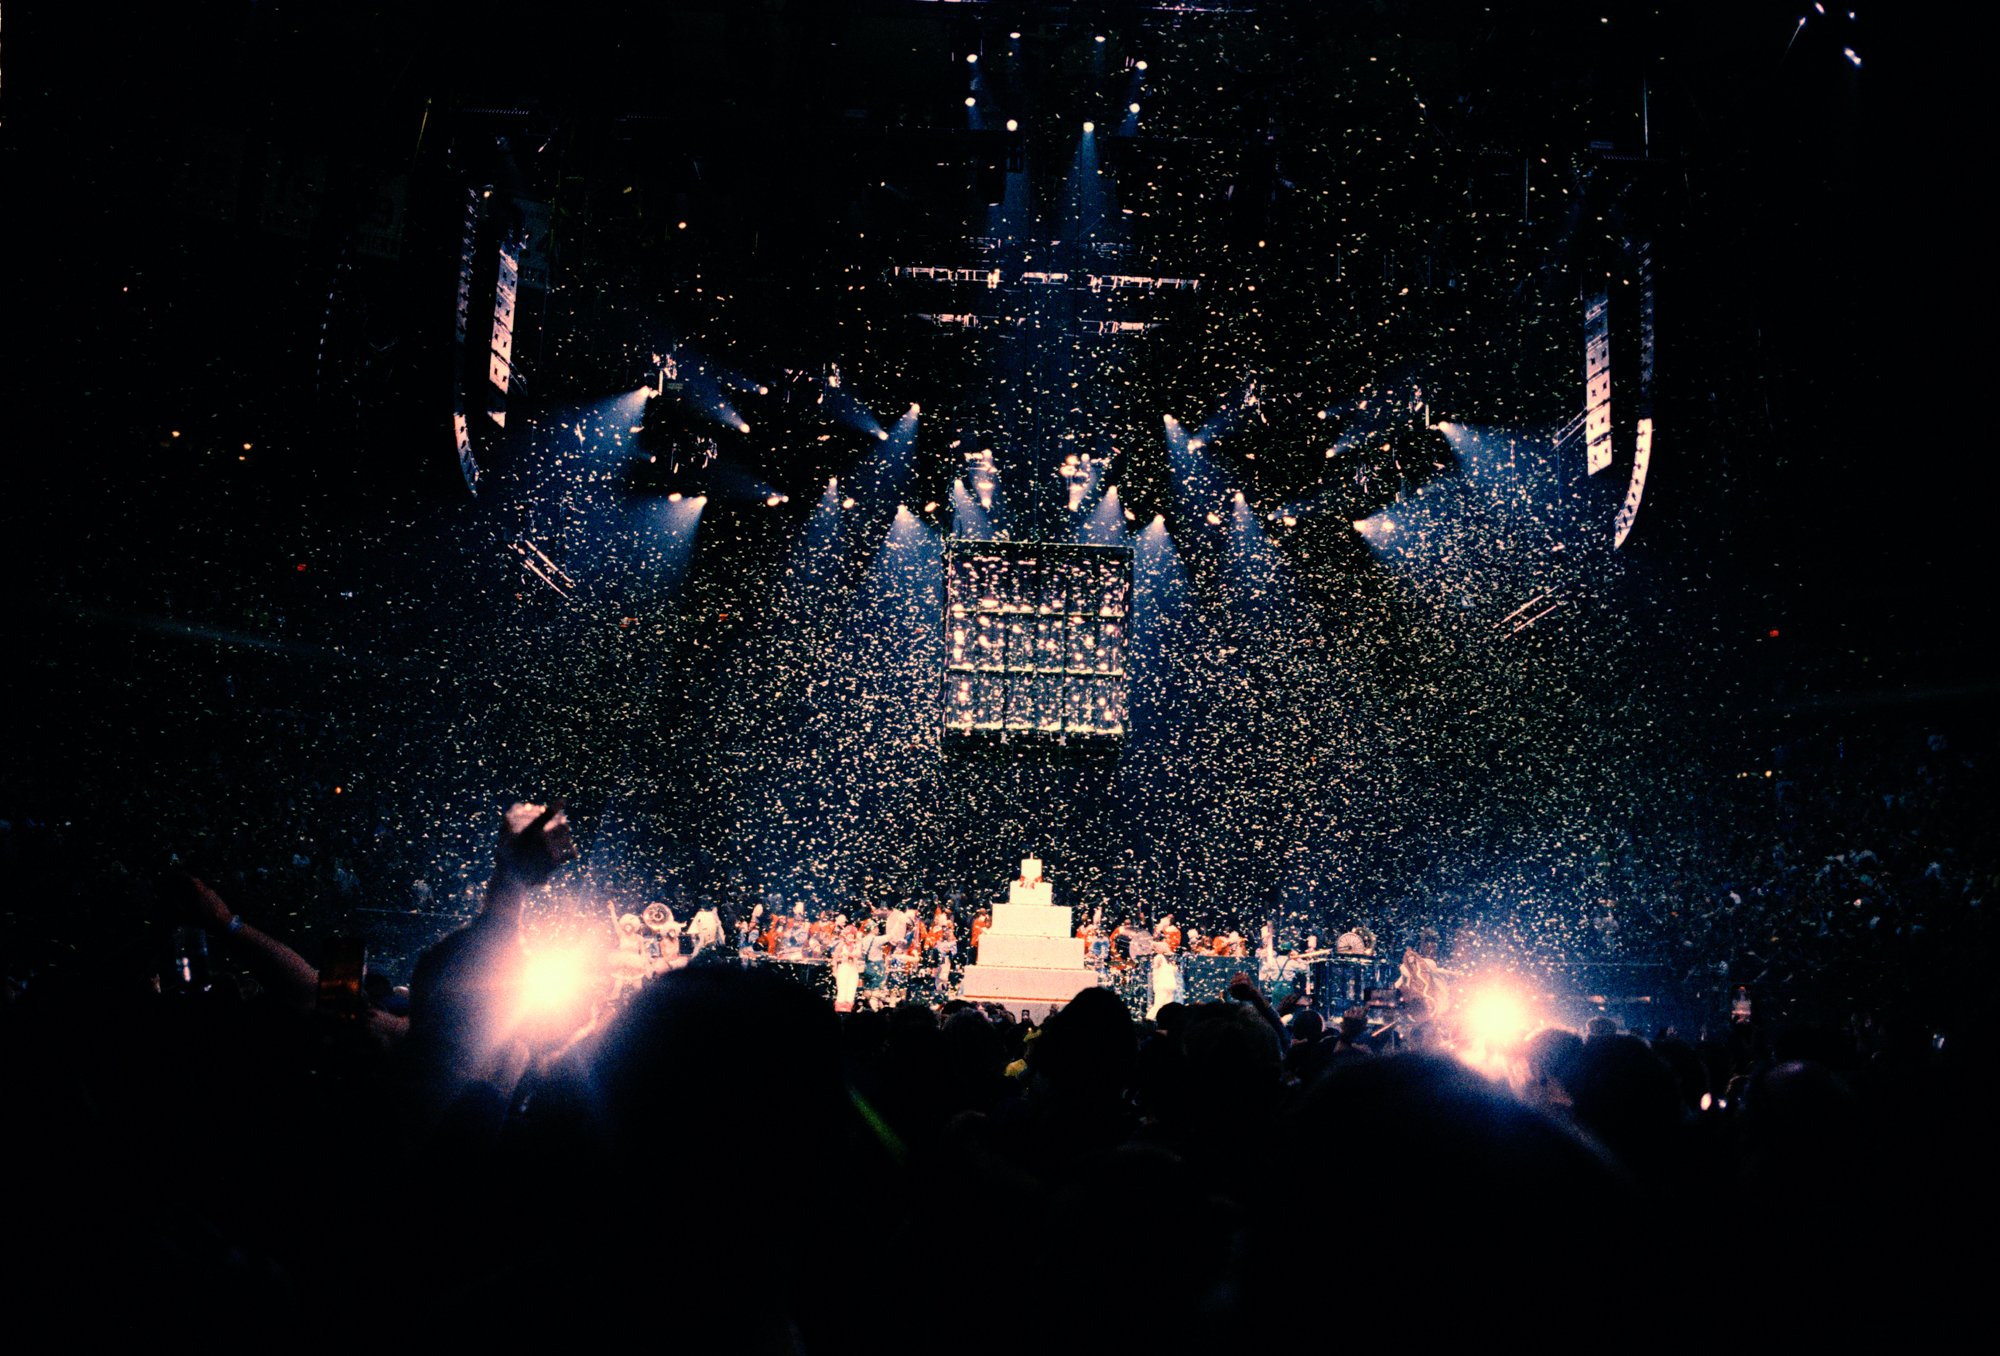
Personally, I have been able to get my Leica M6 into every show I’ve tried. This includes places like Madison Square Garden where everything needs to go through an X-Ray machine to get in.
Also, remember that every single person in the audience has a very capable camera in their pocket, so by taking a film camera in to make some grainy pictures you are certainly not hurting the band financially, nor making any difference to the photographers working the event for the most part.
Pushing your film
Unless you are sticking to black-and-white film, you are going to have a tough time making exposures at your film’s box speed because color negative film often comes in lower ISO ratings with a typical cutoff of 800 – unless you’re willing to pay for something a bit rarer.
But that’s ok! Don’t be afraid to push you film a few stops.
Pushing film means that you tell your camera it has a more sensitive (higher ISO) film in it than it does, so it under-exposes the film. Then when you, or your lab, develops the film, you extend the developing time to brighten those under exposures. This essentially lets you turn a film into any ISO you want, but remember – you need to shoot the entire roll at that ISO, and tell the lab the ISO you pushed it to so they can develop it accoridingly.
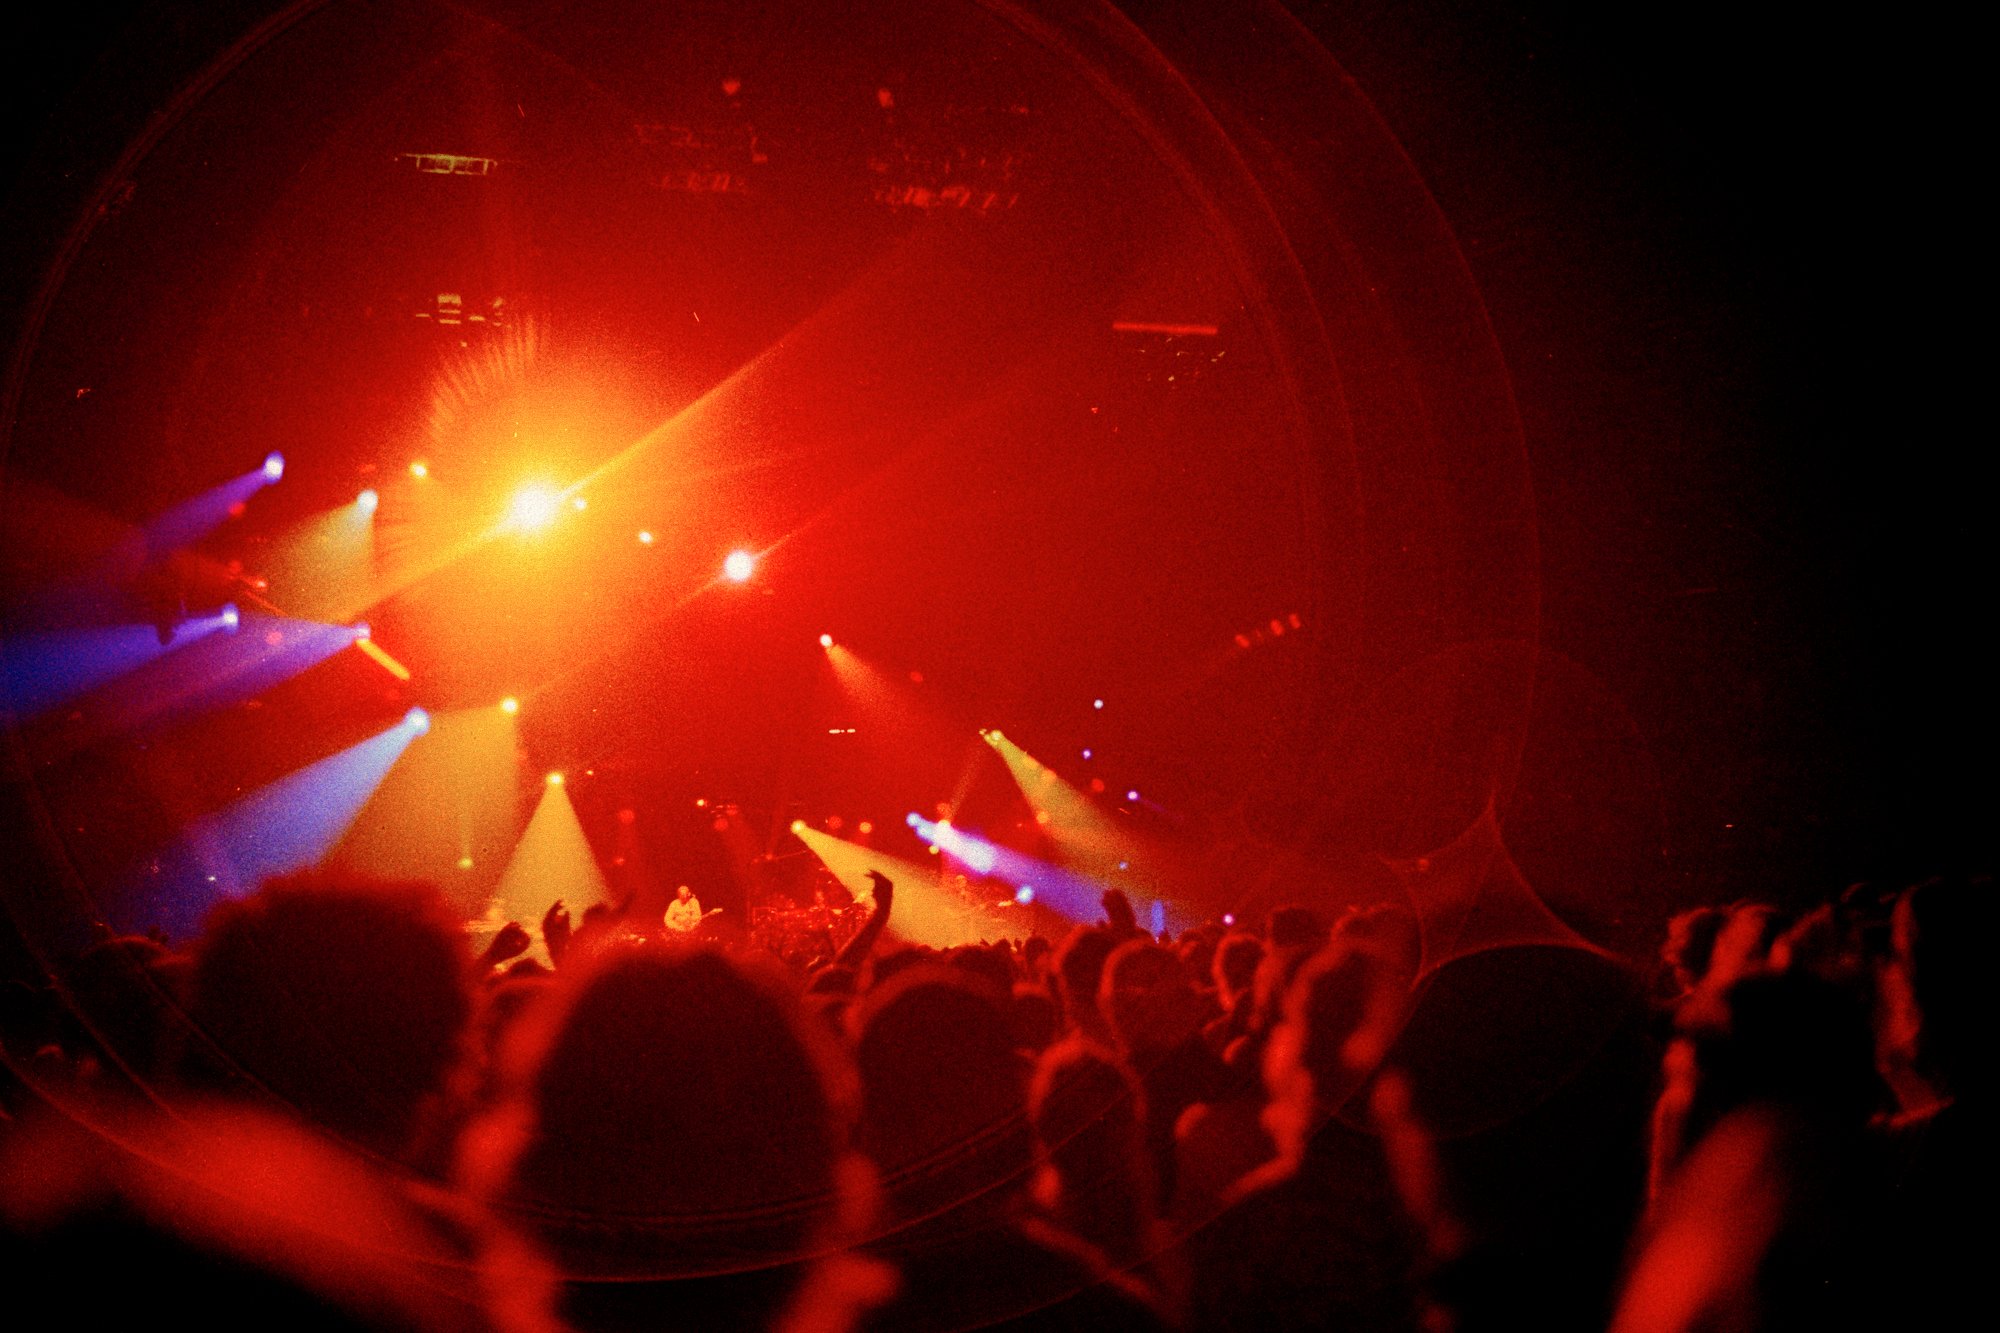
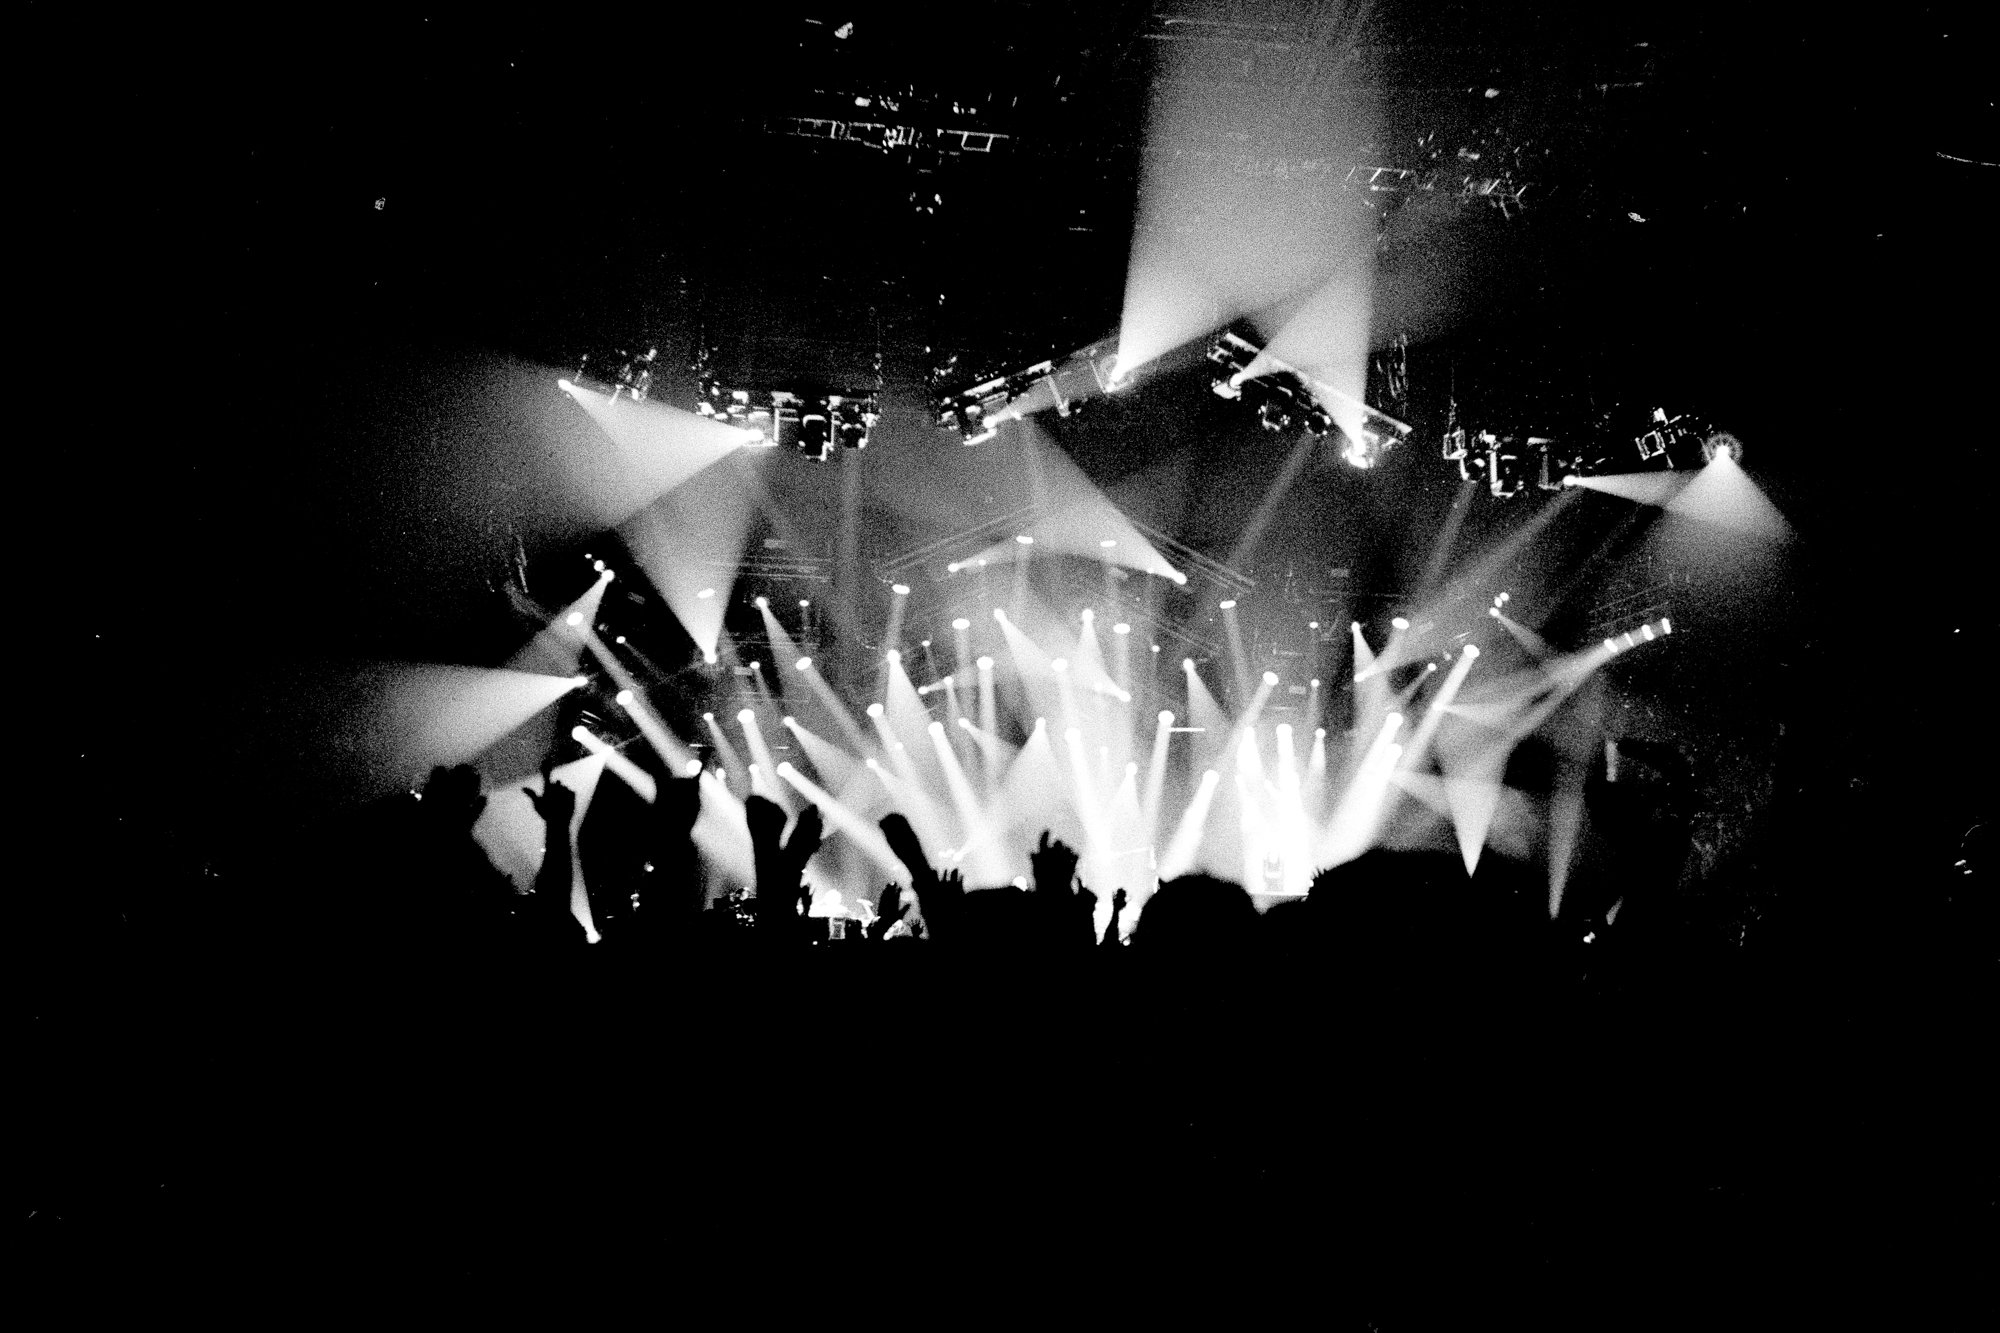
Pushing film of course has effects on the final image, like more grain, higher saturation, and higher contrast. But for shooting concerts, these can all aid in your photographs and it’s really all you can do to get usable images.
I have had great luck pushing all kinds of film multiple stops. I have even made some of my favorite images pushing Kodak ColorPlus 200, a cheaper consumer film that is certainly not made to be pushed 3 stops to ISO 1600. But I find that a film like Kodak Portra 400 or 800 is much cleaner when pushed to 1600.

Exposure
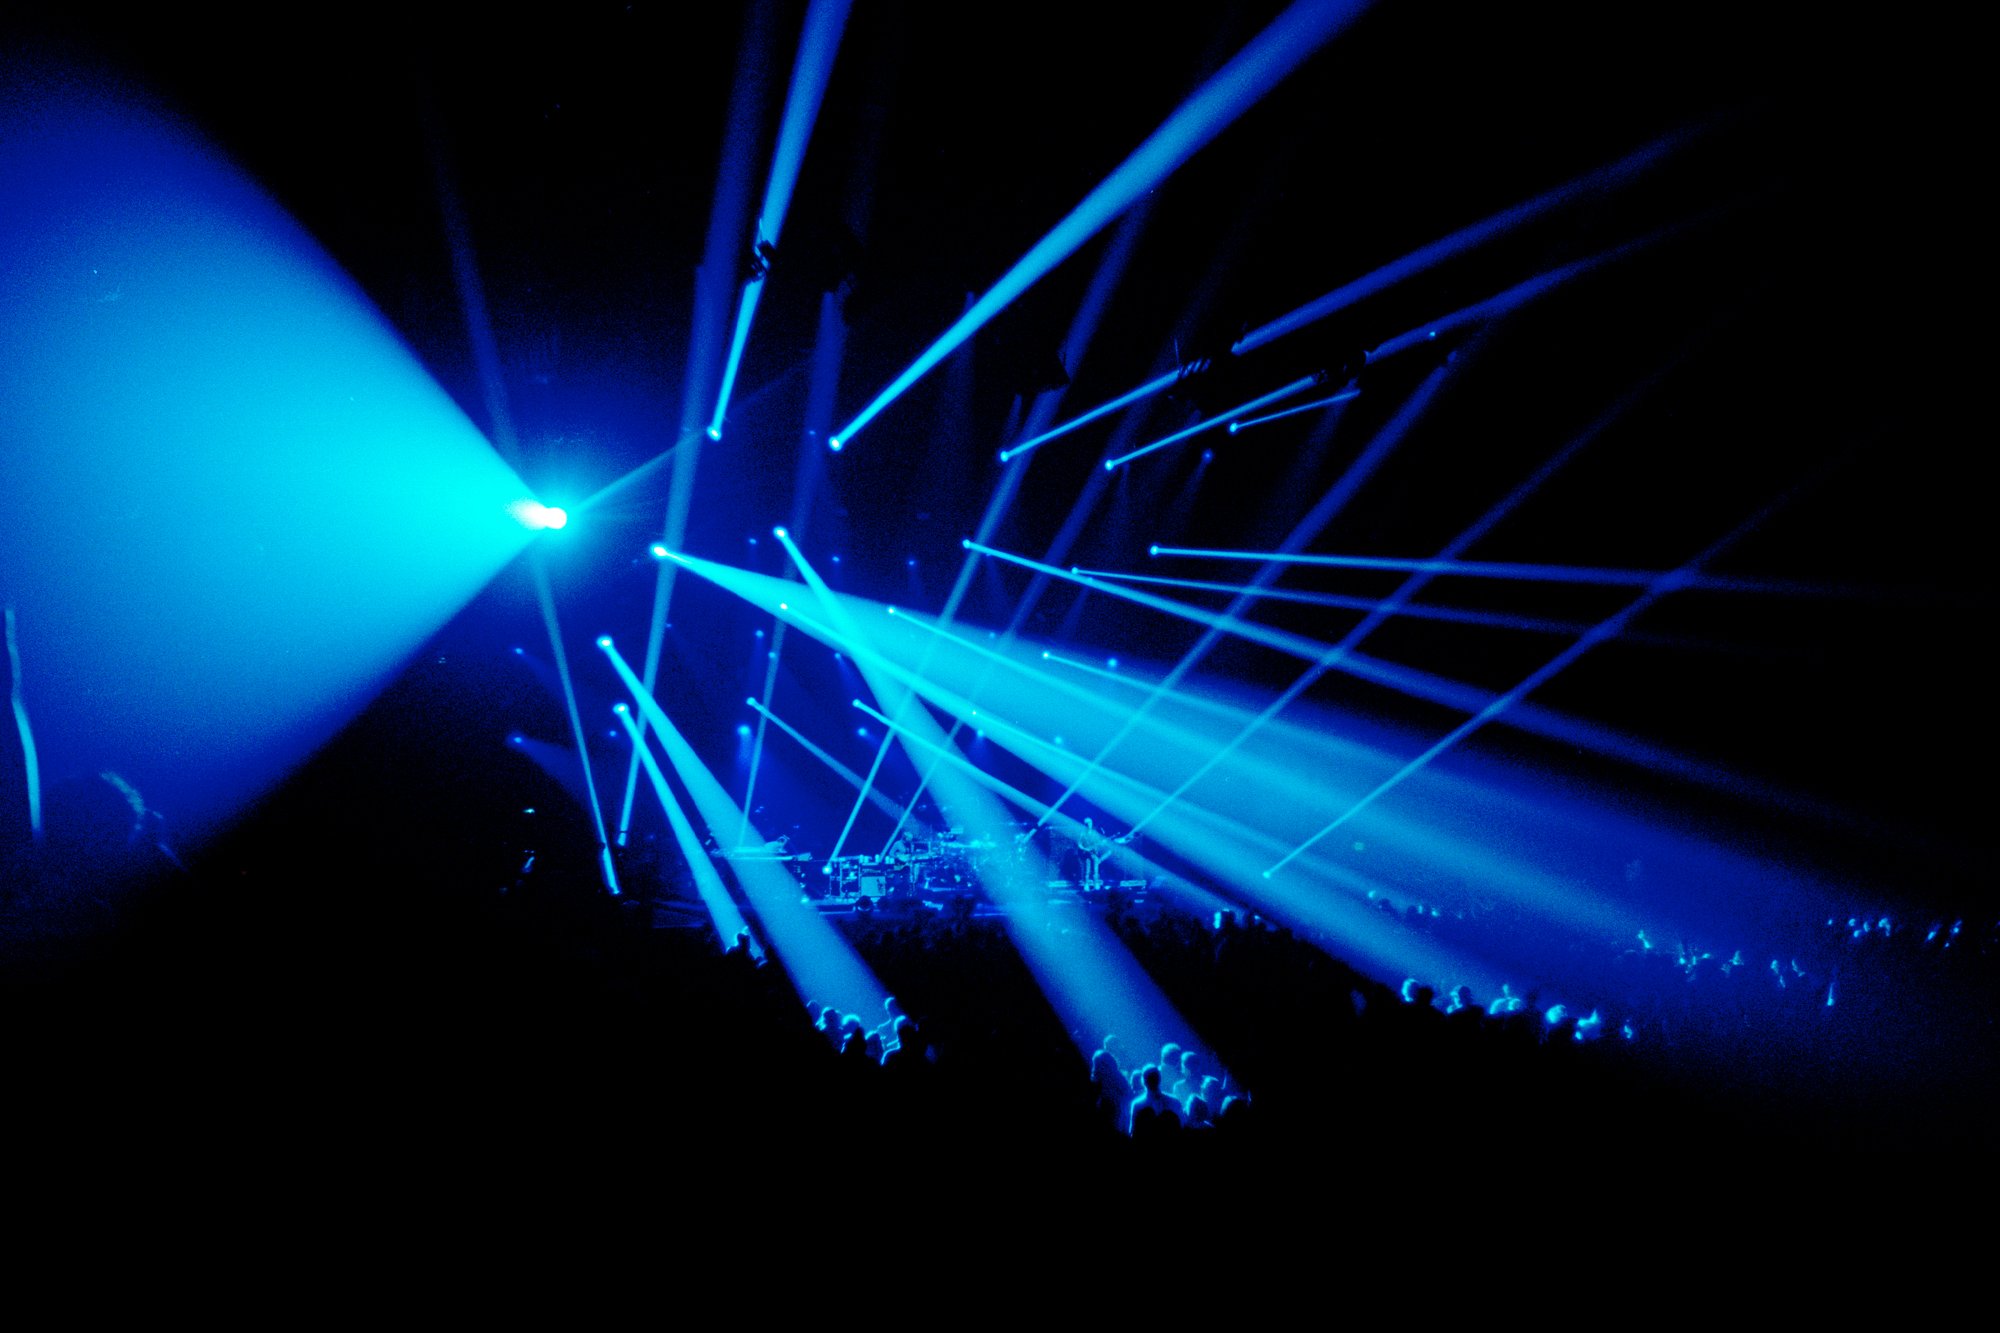
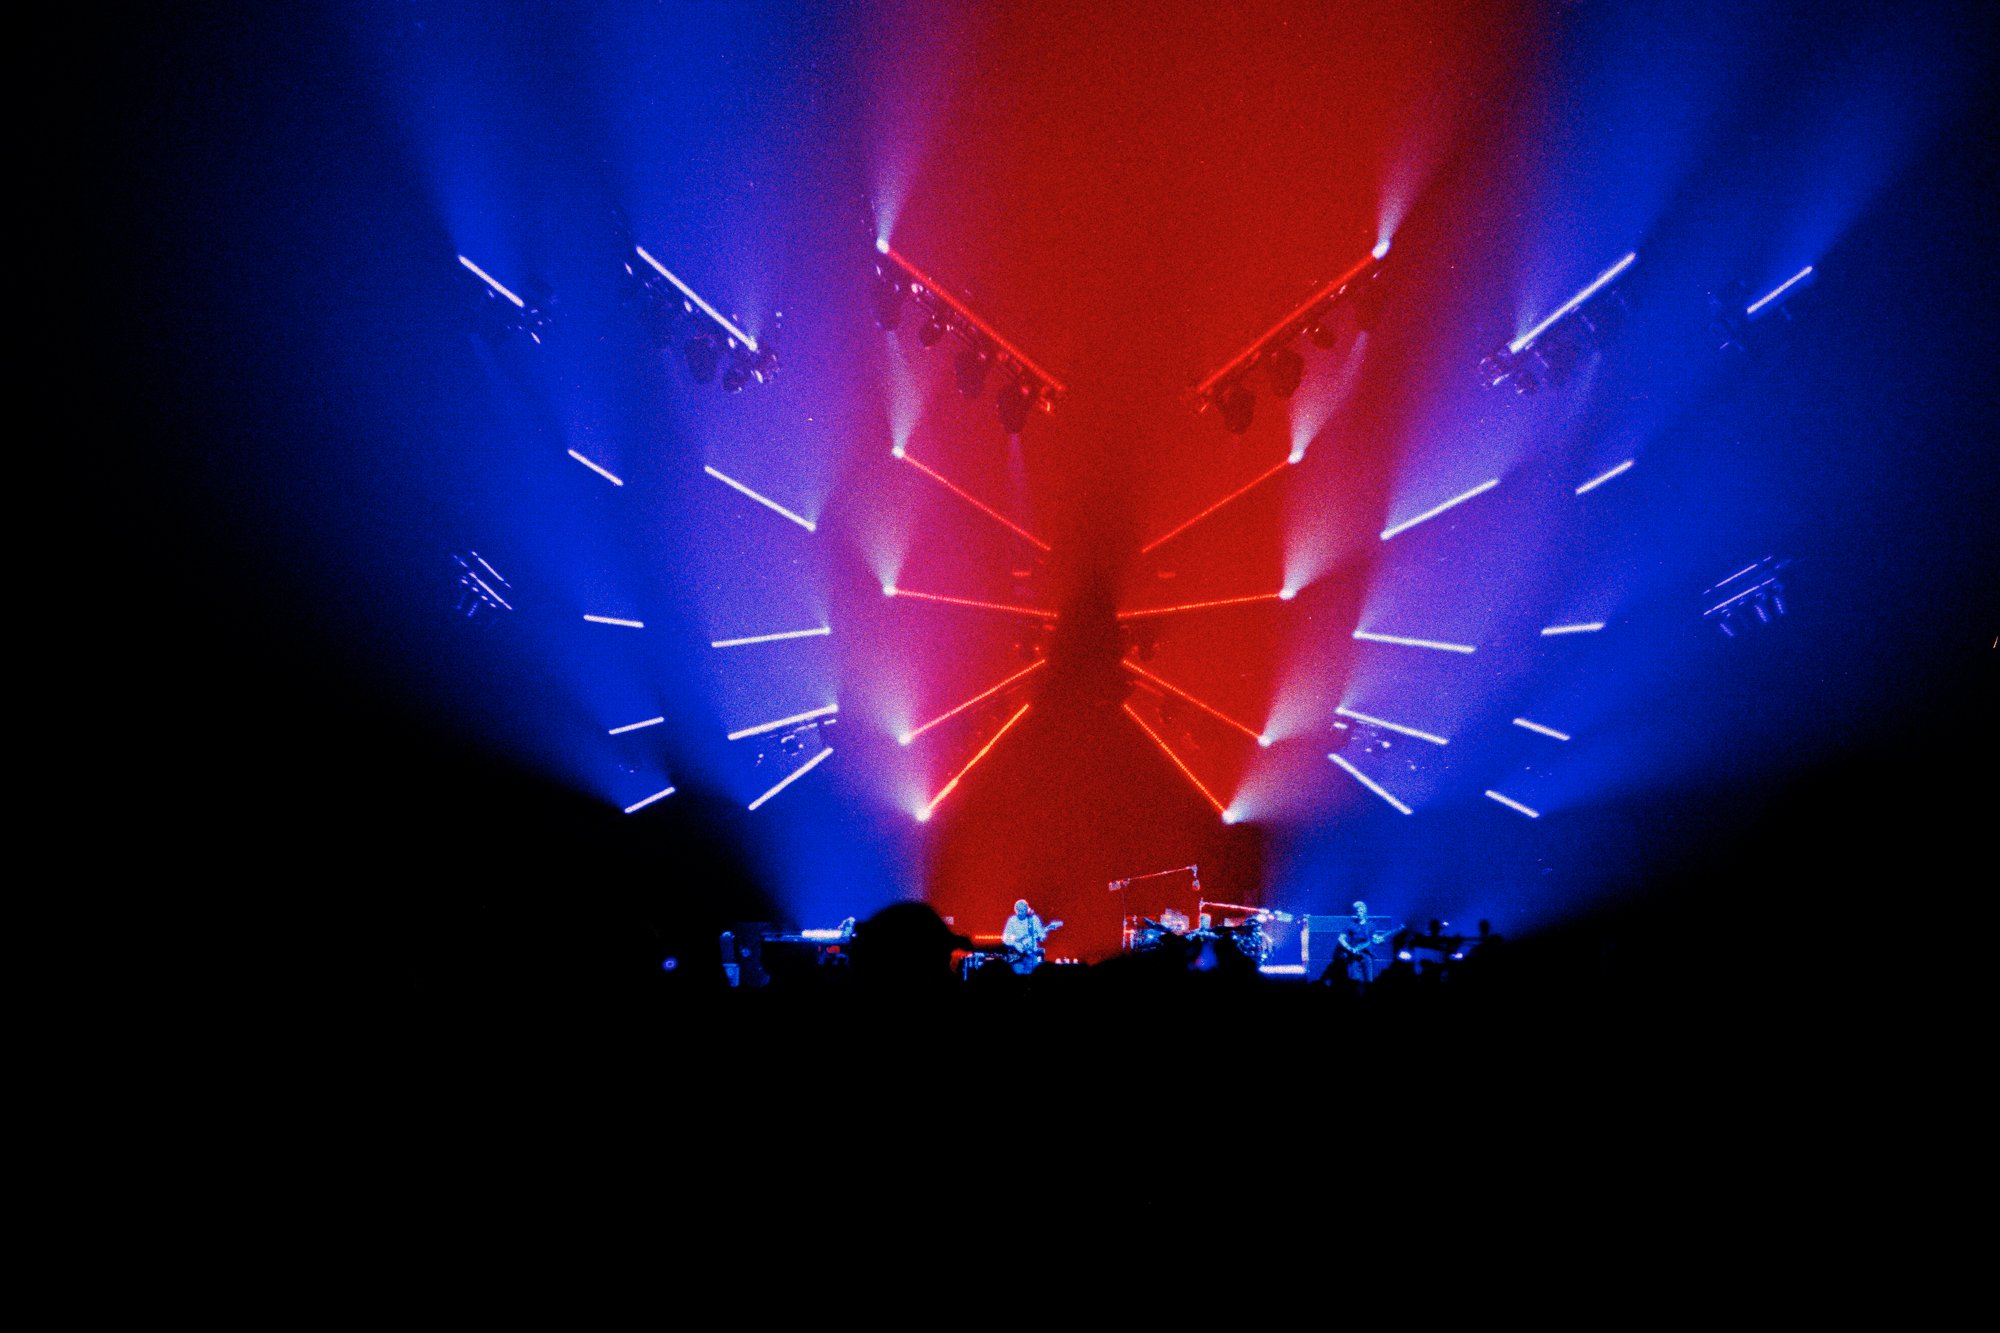
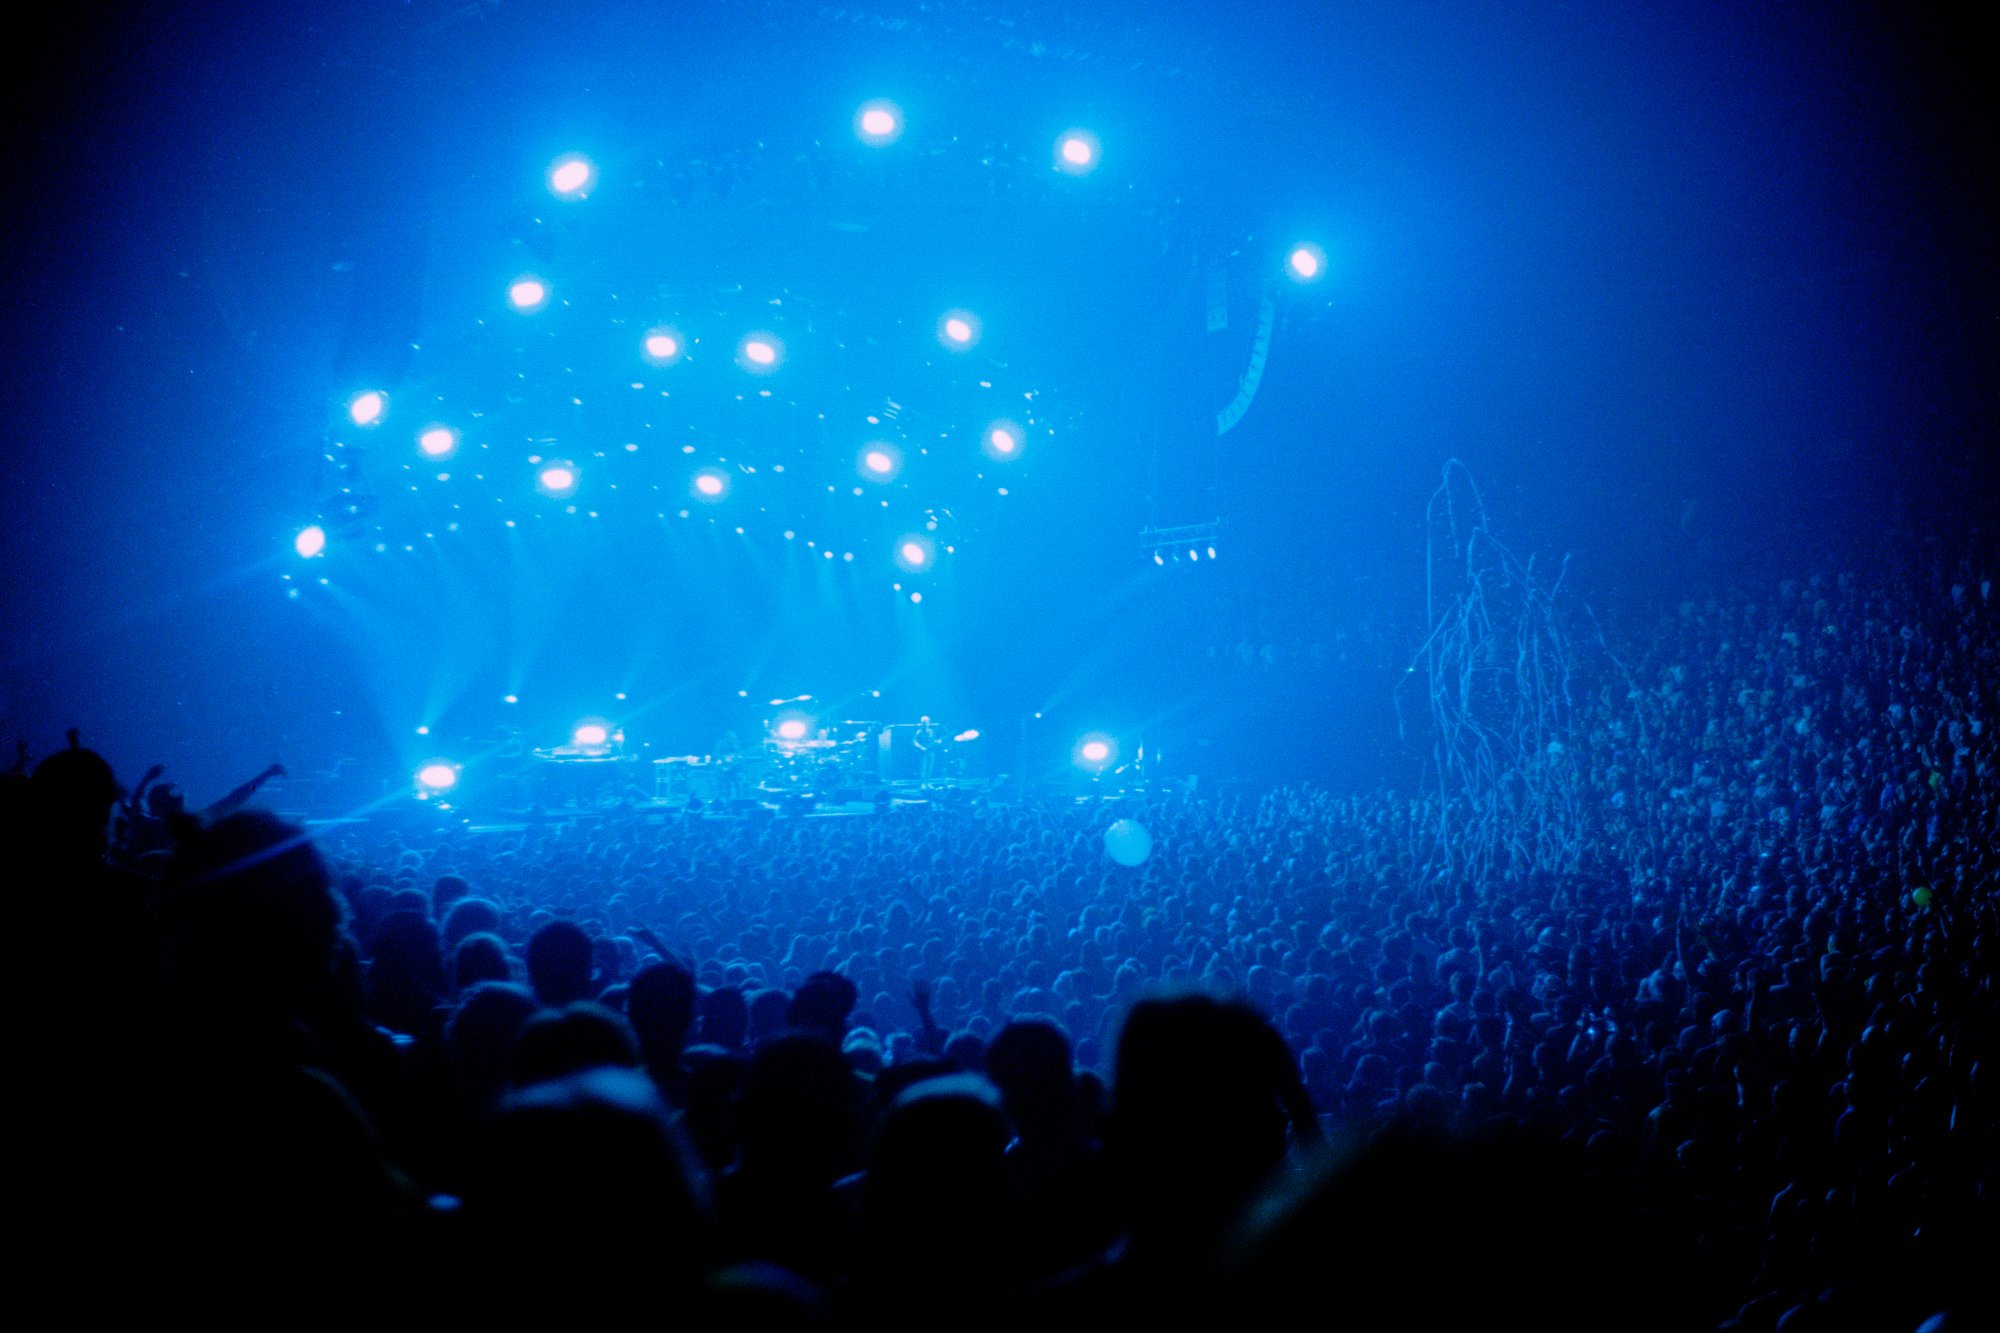
You are obviously going to want a sharp motionless image unless you are working with some light trails or other artistic effects. I like to set my shutter speed to 1/125. 1/60 can also work, but I’m usually bopping around to the music, so that shortened shutter speed helps keep the slight motion blur to a minimum.
You are also going to want to open your aperture up as wide as you can to let as much light in as possible. For the lens I use, that means f/2. But if you have a faster lens, I suggest opening it up all the way.
As for ISO, I stick to a film rating of 1600. That gives me a very usable image of the stage when lit by the lights, while not having an insane amount of grain.

DX Codes on Point-and-Shoot Cameras
A DX code is a bar code of sorts that is printed on most 35mm film canisters. Some cameras, like most automatic point-and-shoots, read this code to set the ISO speed of the film by themselves.
If your camera has a DX code reader, it may also have a way to override that reading and input your own ISO to push the film, or it may have an exposure compensation dial to under expose the roll.
However, if it has neither you will need to trick the camera into thinking it has a faster film in it if you want to push the roll.
To do this you will need to modify that DX Code on the film. Simply scratch off, or color in with black marker/gaffers tape, the appropriate spaces to match the ISO you want.
This chart on the right was done up as a part of Amy Elizabeth’s piece on ShootItWithFilm.com on how to do this same process. Elizabeth goes into far greater detail than I did when it comes to altering DX Codes, so definately give their piece a read.
Thanks so much for following along here.
Please drop a comment here below if you’ve got any questions about this process. Also, I’d love to hear what concerts you’ve brought a camera into, and what camera/film did you shoot?!